
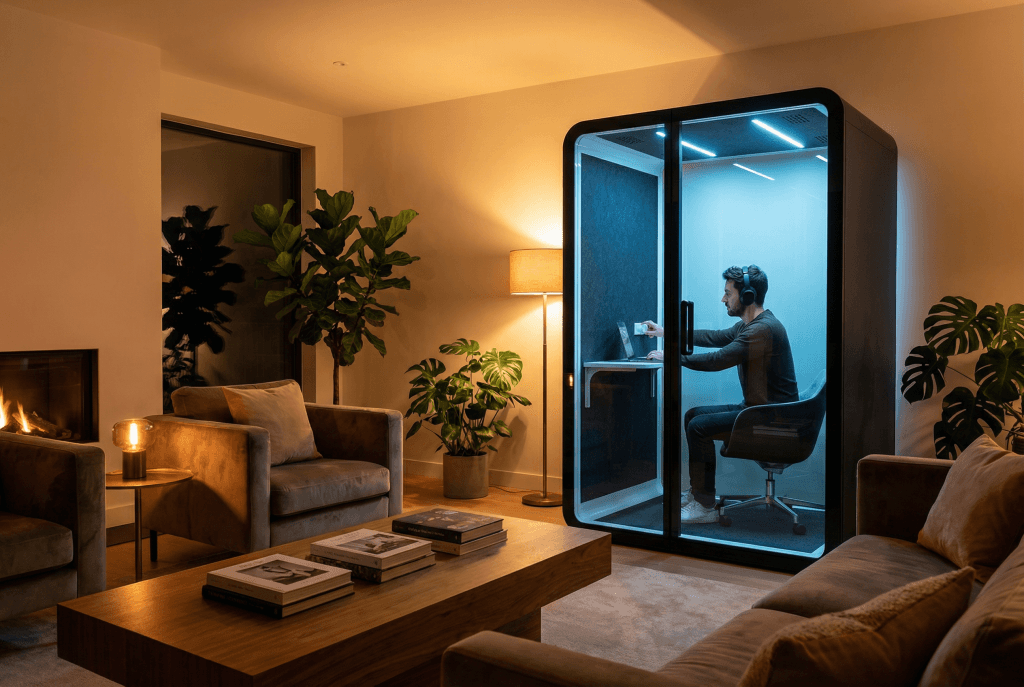
Podcast booth applications
Podcast Booths for Voice Recording and Video Podcasts
Create a dedicated space for narration, remote video podcasts, interviews, and recording sessions with B&H Ergonomics.
Match the booth to your microphone, camera, desk, and recording routine. Custom dimensions are available without an additional size-customization fee.
Quick answer
Choose Elite-M for a single narrator or remote video host with a compact desk, microphone, computer, and camera. Its standard internal space is W1350 × D1125 × H2100 mm / 53.1 × 44.3 × 82.7 in. For larger recording setups, plan the seating, camera positions, instruments, and acoustic setup around the space needed. Compare the work pod options for your solo recording space.
Model selection
Match the podcast booth to your recording task
Use your regular recording format, equipment, and session length to choose the model and configuration.
| Recording task | Model | Setup and trial checks |
|---|---|---|
| Single-person narration or voice-over | Elite-M | Compact desk, computer or script display, boom-mounted microphone, interface, and headphones. Check spoken tone, reflections, fan pickup, and comfortable seating with your recording chain. |
| Remote video podcast with one host | Elite-M | Place the camera above the display and use a compact mounted light. Check lens-to-face distance, framing, screen glare, computer noise, and comfort during a normal-length session. |
| Two-person audio interview | Elite-M where the two-person equipment layout fits; custom dimensions for more room | Fit both chairs, two microphone arms, headphone feeds, and table on the interior drawing. Confirm both users can enter, leave, and move the microphones comfortably before selecting the model. |
| Two-person, multi-camera video set or musical performance | Elite-L or a custom-size solution | Plan camera angles, lights, seats or instruments, movement space, and cable routes. For musical performance, test the intended instruments and playing level, including low-frequency sound and microphone headroom. |
Dimensions
Standard M size and custom recording layouts
Use the internal dimensions for equipment planning and the overall dimensions for floor placement and height checks.
| Dimension | Millimeters · W × D × H | Inches · W × D × H |
|---|---|---|
| M overall size | 1500 × 1250 × 2250 mm | 59.1 × 49.2 × 88.6 in |
| M internal size | 1350 × 1125 × 2100 mm | 53.1 × 44.3 × 82.7 in |
| Custom size | Width, depth, and height matched to the recording setup | No additional size-customization fee |
Need more camera distance or equipment space?
Send your preferred dimensions and equipment list. B&H Ergonomics can prepare a custom-size solution without an additional size-customization fee.
Recording layout
A compact solo setup inside the M footprint
This proposed plan uses the standard 1350 × 1125 mm internal floor area. A compact 800 × 400 mm desktop leaves space for the seated host, a microphone arm, and a camera above the display. Match the final desk, chair, door position, and mounts to the project drawing.
- Microphone: use a boom arm that reaches the host comfortably; set mouth-to-mic distance for the selected microphone and pop filter.
- Computer and camera: keep the camera above the display and confirm the image with the final lens. Check computer fan noise during recording load.
- Absorption: coordinate treated surfaces around the recording position and assess reflections from glass and the desk during the trial.
- Space: the desktop and chair zone use 1000 mm of the 1125 mm internal depth, leaving 125 mm before adjustments for movement and fittings. Use a custom depth if your chair, desk, or recording posture needs more room.
Acoustics and equipment
Shape the space around your voice and camera
Sound isolation, interior absorption, ventilation, and equipment placement each affect a different part of the recording.
Speech reduction
Elite-M’s published acoustic specification is ISO 23351-1 Class A with 33 dB speech level reduction. This describes speech reduction for the tested configuration. Use a trial recording to assess the sound captured at your microphone position.
Interior absorption
Absorbent interior surfaces help reduce reflections. Position the microphone and host around those surfaces, then listen for flutter, ringing, or a boxy tone in spoken passages and short pauses.
Ventilation during recording
Run the ventilation at the setting you expect to use throughout the session. Record room tone with the microphone in position and check both fan pickup and comfort over the expected recording duration.
Your recording chain
Match the microphone, polar pattern, interface, gain, and speaking distance to the voice and delivery format. Listen to the raw track before choosing your editing and processing settings.
Lighting for video
Elite-M’s listed lighting options include 4000K / 5000K LEDs with adjustable brightness. Set exposure and white balance on the camera, then adjust a compact key light to suit the face and background.
Power and connections
Specify socket, USB, USB-C, and data needs with your equipment list. Match connector outputs to the computer, interface, camera, and lights, and route cables clear of entry and ventilation openings.
Trial recording
Hear your setup before choosing the final configuration
Record the same voice passage with your intended microphone and equipment. A consistent setup makes it easier to compare models, placements, and ventilation settings.
Set the recording chain
Record the microphone model, polar pattern, interface, gain, mouth-to-mic distance, sample rate, and bit depth. Keep these settings and the script consistent across comparison takes.
Arrange the equipment
Use the planned desk, chair, computer, camera, and lights. Close the door, run ventilation at the normal setting, and keep equipment in its everyday operating state.
Record room tone and speech
Capture 30 seconds of room tone and 60 seconds of narration in each setup. Save the original files with automatic gain, noise reduction, gating, EQ, and compression disabled.
Check everyday sounds
Include keyboard use, chair movement, louder speech, and a brief clap. Listen for desk vibration, outside noise, fan tones, and reflections in the pauses.
Run a full session
Test the camera framing, lighting, computer load, temperature, and comfort for your expected session length. For a performance layout, include the intended instruments and playing level.
Choose the final setup
Compare files on the same headphones at the same playback level. Record your preferred layout and any changes needed to microphone placement, furniture, absorption, or booth size.
Project support
Plan a booth around your recording kit
Send your recording format, equipment list, and available floor space. B&H Ergonomics will help you plan the M-size configuration or custom dimensions.
Request a Recording Booth QuotePrepare these details
- Number of speakers and typical session length.
- Microphones, computer, interface, cameras, lenses, lights, and instruments.
- Desk and chair sizes, seating layout, and camera positions.
- Standard size or required custom width, depth, and height.
- Quantity, delivery location, floor plan, power, and access route.
FAQ